Finished Title sequence:Production
What is manageable:
In order to manage my time throughout this project, I would need to create a schedule for when I start my shootings for each shot, when I will hit the deadline and also when I should be editing.
November 16th-22nd 2020: Organise what types of shots I'll be needing in order to implement it into my title sequence edit.
November 23rd-29th 2020: Start getting a good amount of footage that will help and show what type of show it will be. No green screen characters yet.
November 30th 2020: Record green screen characters that will be used in the title sequence.
December 1st-5th 2020: Start practising and implement the double exposure effect into the green screen characters that will be used for the final edit.
December 6th-8th 2020: Start editing any other effects towards the characters such as the black smoke. Start to edit the background animation also with a few different styles. Complete the outro of the title sequence also with its fancy camera work edit.
December 9th-10th 2020: Add the texts and export them separately when complete. Combine the footage of the edits with the background and outro together with the texts. Export the finished product.]
December 11th 2020: DEADLINE
What are your initial thoughts:
My initial thoughts throughout this brief is that I'm prepared to complete this task on time and also at a highest standard if possible to show that I am more than capable when creating things as a high level finished product. I have done many After Effects work in the past but now this project I will want to push my self further with more fancy edits to make it stand out and to show that I am capable. Luckily for me I am only doing the recordings in my room and my garden as I already planned out what I would like to add into my title sequence.
What will 'Success' look like:
In order for my work to look successful for me, it will be on how well my visuals have been implement and how well it stands out in order to make it appealing and also make the audience engaged. All of my footage have been done by me except for 3 which I borrowed online however, all of the shots helps to give the audience a better understanding of what's going and how it can link to the detective crime genre. I'll also have to hit the deadline on time in order so that I can get feedback on my work. And lastly getting feedback from other people can be beneficial to see if there are areas I could improve or they could complement on how well it looks ect.
Bullet point the research you've done:
As of research there are many things I'll be using in my project:
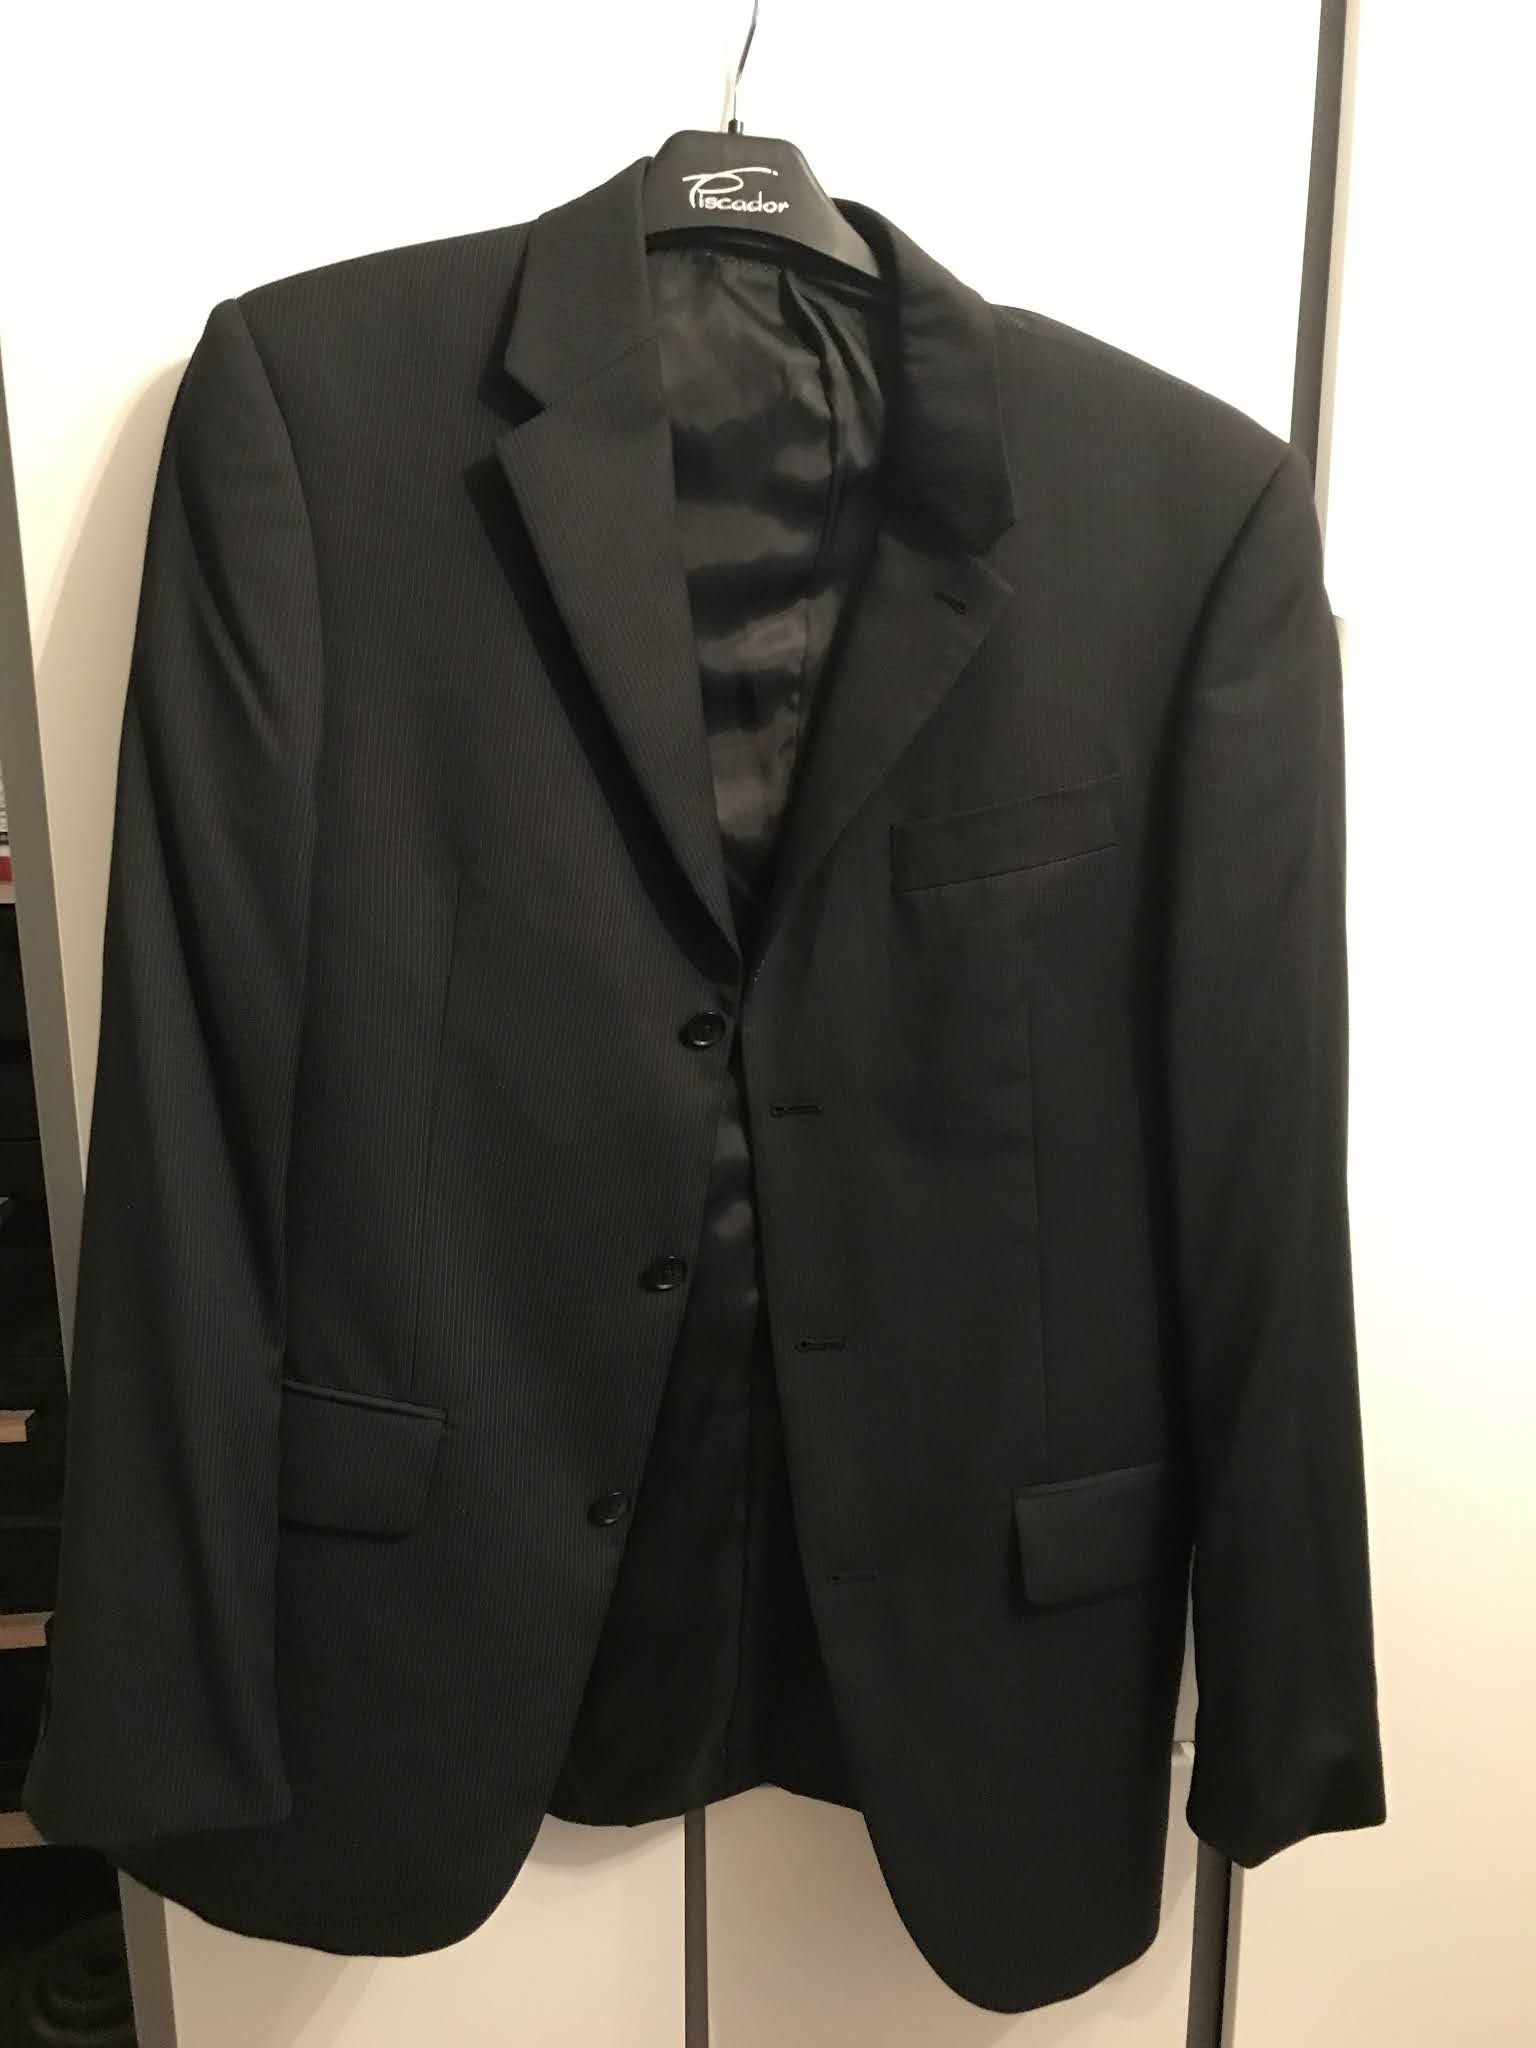
- Props and costumes
- Fading away text style
- 2 different designs of Double exposure effect
- Visual effects such as the particles, the smoke, the lighting, the transitions, font design, 3D outro look ect...
- Genre conventions
- How to engage my target audience
- The type of music
Evaluate it, is it enough?
Overall I believe that I have over enough in order to make sure the finished product will stand out as well as making it engaging. I'll need to make sure I develop a good amount edited double exposure effect to choose which ones stand out the most and how it can look appealing.
VFX Research tutorials:
Double exposure effects:
For my title sequence I have decided to go for more of a "True Detective" path where I'll use a double exposure effect on the character where it would also show the theme or genre of the show inside of the character. This double exposure video tutorial will allow me to show the characters outfit and face whilst the other footage is being played inside of them. This is so that the viewer can identify the characters to have a better understanding of what the show could possibly be about. This was overall pretty straightforward but was also very fiddly especially if the character is moving allot. It would of been much better if the character had a background attached to the character as I had a transparent background in order to export it separately.

The other double exposure is more advanced and more professional as its very identical to the title sequence "True Detective".
This allowed me to produce a few advanced looking double exposure effects towards my title sequence in which made it stand out allot. This made sure you could only mainly see the background inside the character and the outline of the characters movements. This was overall satisfying when finished as it looked very clean and was very easy to follow the tutorial without having issues.

Fading away texts:
For my title sequence text designs, I am going for more a detailed approach by making the text fade away with particles flying away to give it the extra small detail which can help improve the looks of the title sequence. This worked perfectly as when applied to my edit, it blends nicely as well as keeping the theme of the colour of the text perfectly with the background. Overall quite a bit of steps however, it is a nice feeling when done it correctly and how you wanted it to look. You can always adjust the colour to your liking also which is perfect. I created many of these texts as I exported each individual by changing the names.

Volumetric Light and Dust background:
As for my background for my title sequence, I have created3 different designs of backgrounds for my title sequence. Starting off with this one the Volumetric Light and Dust. This allowed me to show and produce to build up suspense throughout my title sequence as well as making it mysterious by starting off peaceful in the intro of the title sequence which is where I put this background. This was done this way to show emptiness of the location and to just create suspense. This however, has aloud me to use some fog particles as well us dust particles where the light is shining. The light is also moving which helps to make the whole clip alive. Overall the process was straightforward and had no issues when making it.

Fire particle effect background with light lens for more of a yellow effect.:
As for my other background out of the 3, I used this for my good side of characters for the yellow effect as well as the red side which was the psychopath scenes as it helps to firstly make it intense with the music as well as linking to hatred and evilness towards the character. The yellow on the other hand helps to show more a positive vibe of the scene but still making it intense and appealing. This overall was a very nice addition towards my edit as it gives it the extra detail towards my finished product.


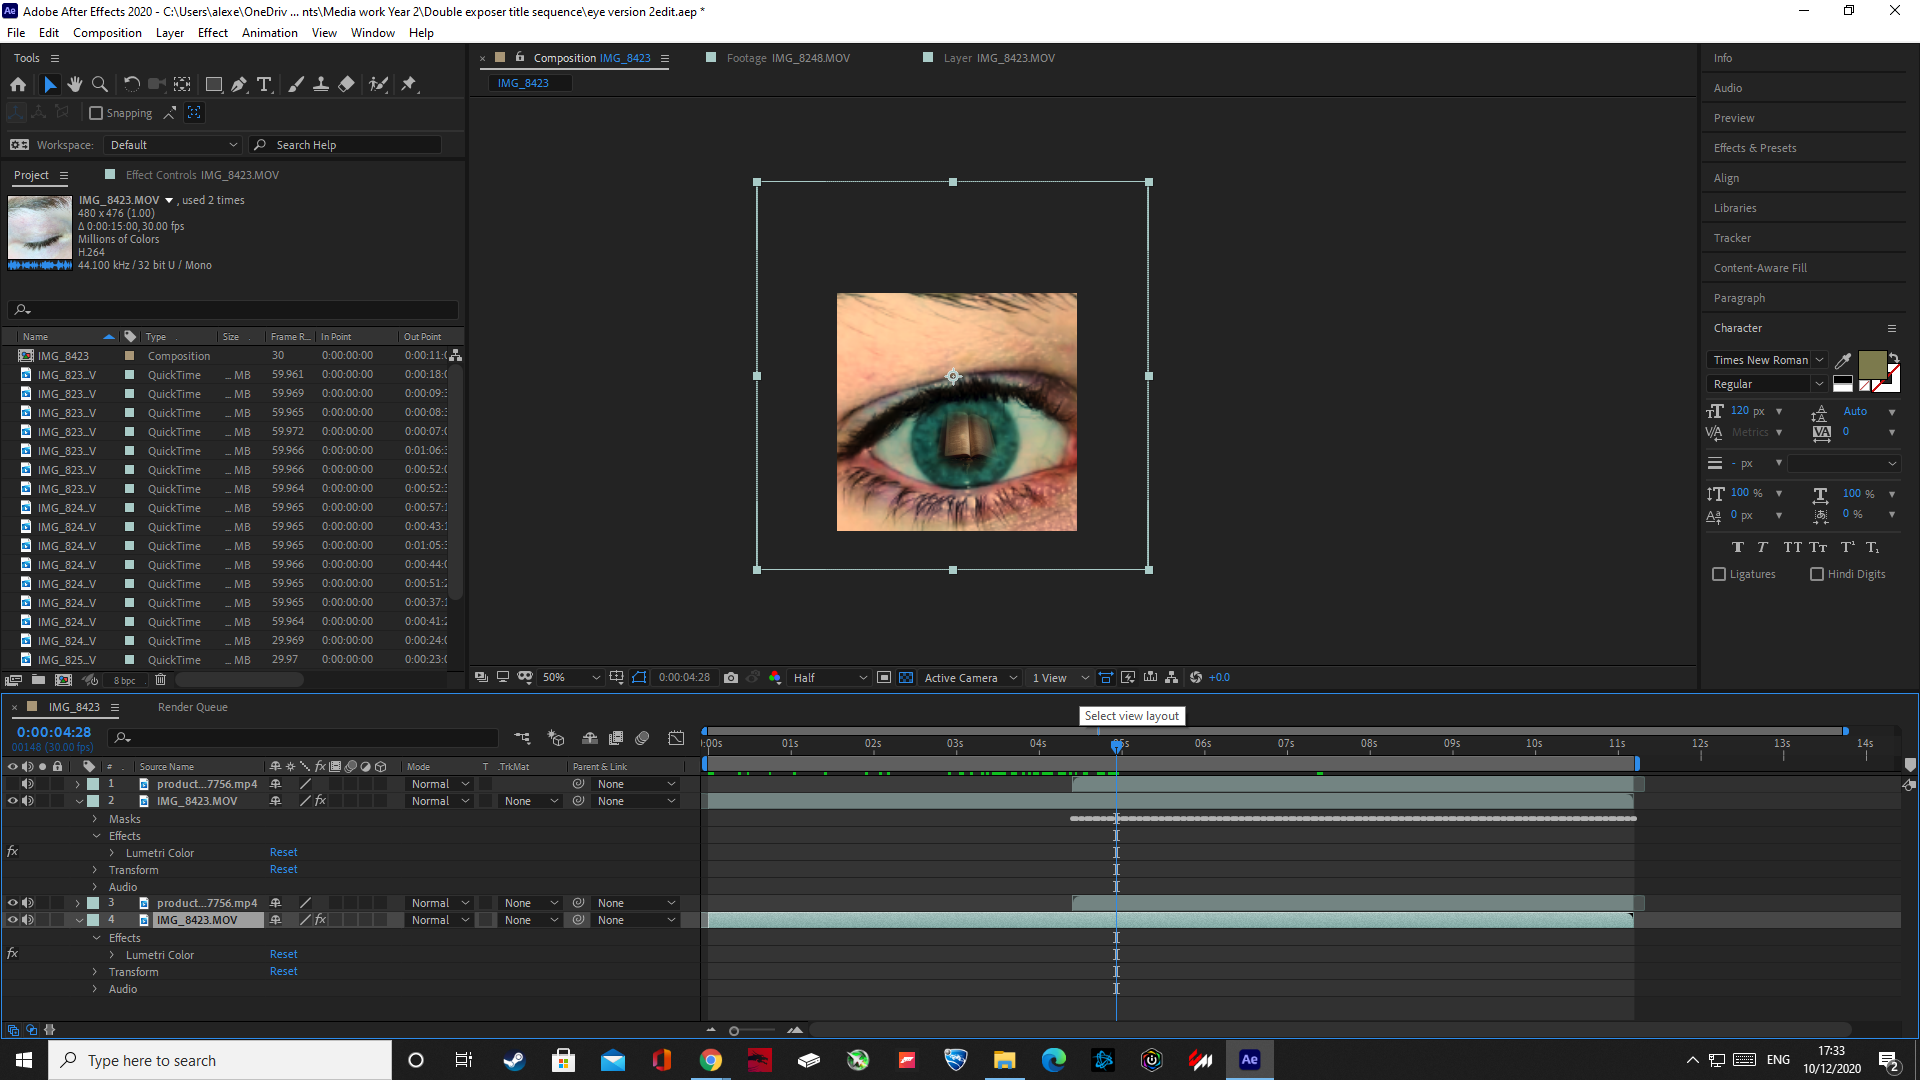
Eye edit with a video inside the pupil effect:
For this tutorial I was able to implement into my title sequence by using my own eye and attaching a video inside my pupil to build up the suspense. I always decided to make it so that it is a psychopath path looking at the book which is a bit of an Easter egg to show that it is the evil character in the show looking at his own book. All these small little details help enhance the overall finished product. Overall the editing was straightforward and had no issues when making it into a finished product. I did however, in premier pro made it more darker and evil looking to make the character look even more evil.
Transitions:
Transitions is important for my title sequence as I didn't want it to be stale when changing scenes of the background as it would of looked odd without a flash of light ect. This was done once I finished putting everything together and then applying the transitions after which allows me to go through it and see how everything gets affected in the few second duration. Overall all I had to do was drag an effect which was called "Levels" in Premier Pro adjust where the lighting happens.


Outro:
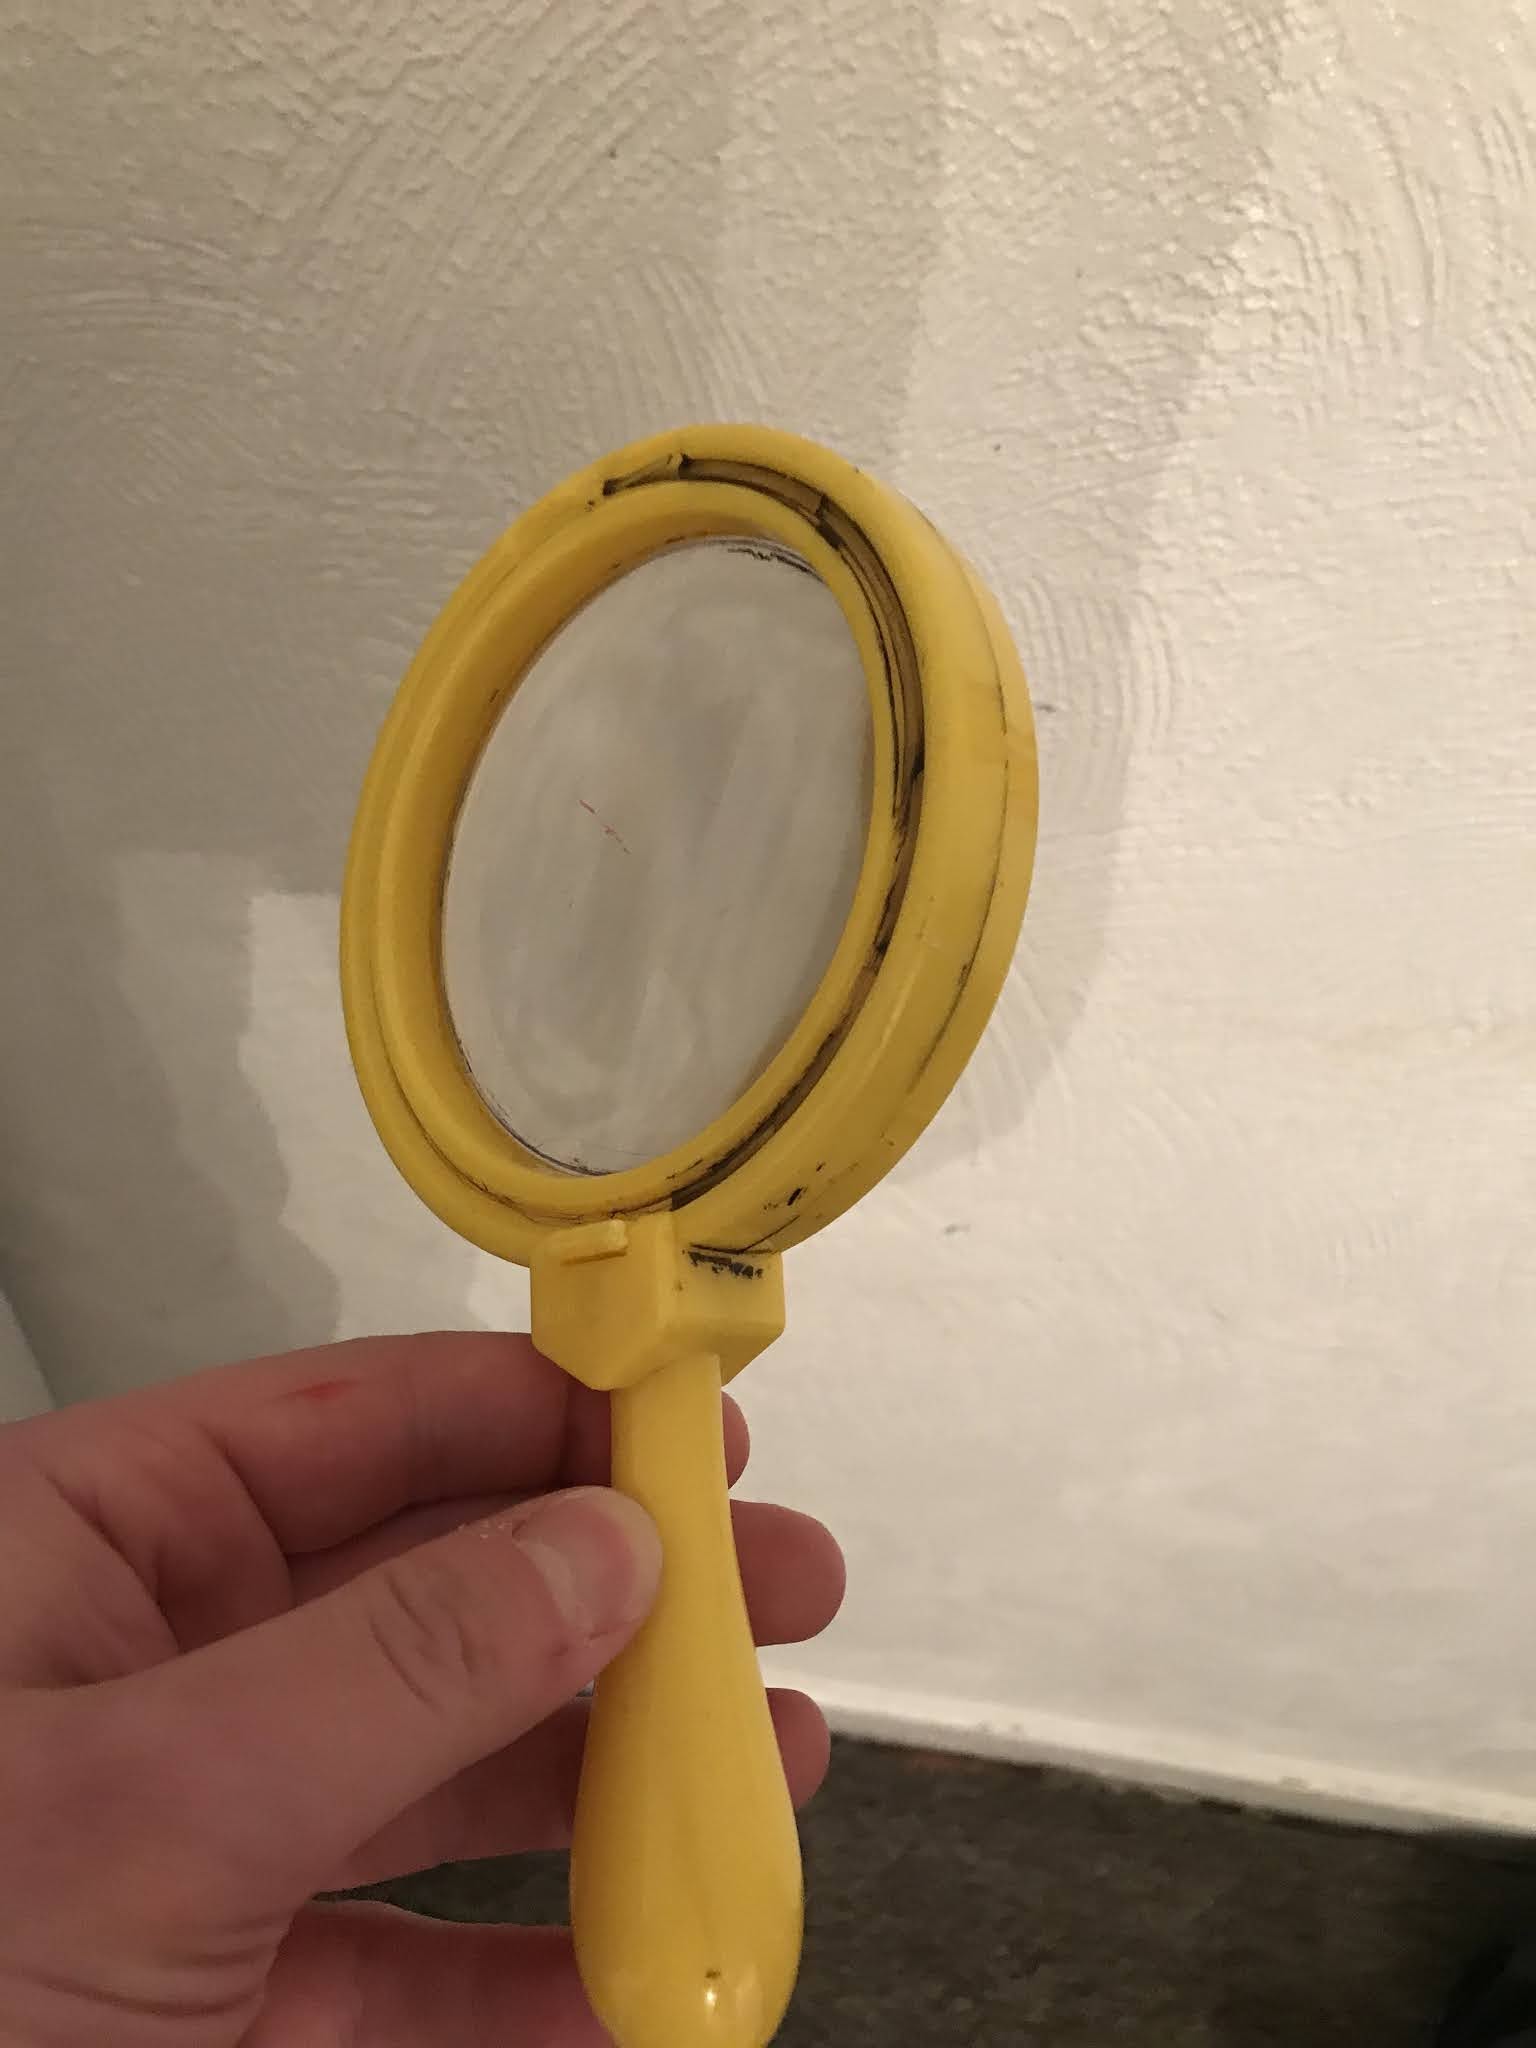
Lastly for my outro I found a tutorial which helps to link of theme and genre of my show which was this heavily professional detailed look by creating a 2D image into a 3D image illusion by burning also to write out the letters and images. The camera angle shots also makes it very appealing when watching it as it is building up the suspense to reveal to what it is creating. I followed along the steps and changed some parts up for instance adding two magnifying glasses rather than a dragon and my own text title for my show name. Overall very pleased of the outcome.

Chose of fonts:
I only used two fonts throughout my title sequence which were the texts of the names as well as the outro. These fonts aloud me to have that detective/ crime feel which helps to give it the extra detial.


Production filming:
Camera used: Iphone 7 Plus
Character shots:

Props shots and locations:


Borrowed clips:

Risk assessment:

Shot list:

Finished edit:
Comments
Post a Comment